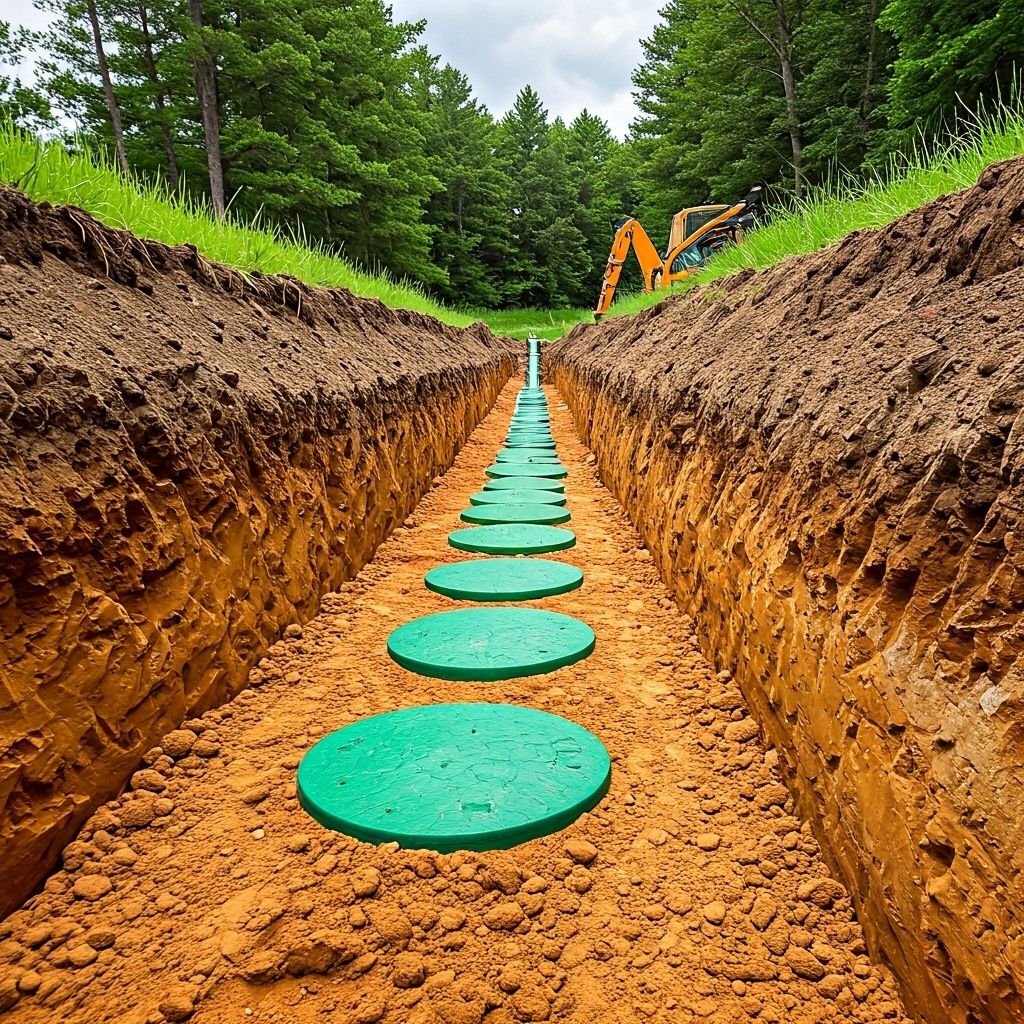
Installing a new septic system is a significant investment that requires careful planning and professional expertise. Understanding the process helps you prepare and know what to expect at each stage.
Phase 1: Planning and Permits
Site Evaluation
The process begins with a comprehensive site evaluation including:
- Soil percolation tests (perc tests)
- Soil composition analysis
- Groundwater level assessment
- Topography and drainage evaluation
- Setback requirements from wells, property lines, and structures
System Design
Based on site conditions and household needs, engineers design a system that includes:
- Tank size and type selection
- Drain field layout and sizing
- Distribution system design
- Any required advanced treatment components
Permit Application
Required permits typically include:
- Septic system installation permit
- Excavation permits
- Environmental compliance permits
- Building permits (if applicable)
Phase 2: Pre-Installation
Utility Marking
All underground utilities must be marked before excavation begins. This includes:
- Electric lines
- Gas lines
- Water lines
- Telecommunications cables
Site Preparation
The installation area is prepared by:
- Clearing vegetation and obstacles
- Establishing access routes for equipment
- Protecting existing landscaping where possible
- Setting up temporary facilities if needed
Phase 3: Installation
Excavation
Professional excavation includes:
- Digging the septic tank hole to precise specifications
- Excavating trenches for distribution pipes
- Creating the drain field area
- Ensuring proper grades and slopes
Tank Installation
The septic tank installation involves:
- Preparing a level, stable base
- Carefully positioning the tank
- Installing inlet and outlet baffles
- Connecting inlet and outlet pipes
- Installing access risers and lids
Distribution System
Installing the distribution components:
- Setting the distribution box
- Installing distribution pipes
- Ensuring proper pipe slopes
- Installing any required pumps or controls
Drain Field Construction
Building the drain field involves:
- Laying gravel beds to specification
- Installing perforated distribution pipes
- Covering pipes with additional gravel
- Installing filter fabric
- Backfilling with appropriate soil
Phase 4: Testing and Inspection
System Testing
Before final approval, systems undergo:
- Water tightness testing
- Flow testing
- Electrical system testing (if applicable)
- Alarm system testing
Official Inspections
Required inspections typically include:
- Pre-backfill inspection
- Final installation inspection
- Electrical inspection (if applicable)
- Environmental compliance inspection
Phase 5: Completion
Final Backfilling
After passing inspections:
- Complete backfilling of all excavated areas
- Proper grading for drainage
- Restoration of disturbed areas
- Installation of permanent markers
System Startup
Initial system operation includes:
- Filling the tank with water
- Testing all components
- Adjusting settings as needed
- Providing operation instructions
Timeline Expectations
Typical installation timeline:
- Planning and permits: 2-6 weeks
- Site preparation: 1-2 days
- Installation: 2-5 days
- Inspections: 1-2 weeks
- Final completion: 1-2 days
Cost Factors
Installation costs vary based on:
- System size and complexity
- Soil conditions
- Site accessibility
- Local permit fees
- Required advanced treatment
Choosing the Right Contractor
Select a contractor who:
- Is properly licensed and insured
- Has extensive local experience
- Provides detailed written estimates
- Offers warranties on work
- Has positive customer references
True Flow Septic has extensive experience with new septic system installations. Our team handles every aspect from initial site evaluation through final inspection, ensuring your new system is installed correctly and operates efficiently for years to come.
Found this helpful?
Share this article with others who might benefit.

